If you've ever listened back to a raw podcast recording, you know the problem: gaps between questions, a long pause while you find your notes, dead air at the very start before you remembered to hit record. Trimming that silence manually is possible — but it's slow, repetitive, and exactly the kind of work that keeps podcasters from publishing consistently.
This guide covers every method available to trim silence from a podcast recording, from free online tools to DAW techniques, so you can choose the one that fits your workflow.
Why Trimming Silence from a Podcast Recording Matters
Silence trimming isn't just an aesthetic choice — it directly affects listener behaviour and your podcast's overall performance:
- Completion rates go up: Episodes with tight pacing hold listeners longer. Podcast platforms algorithmically reward episodes with high completion rates with more recommendations.
- Your episode sounds more professional: Even a five-second gap at the start of an episode signals poor production and can cause a new listener to close out immediately.
- File size decreases: Silent audio still occupies space. Trimming it reduces your file size, which means faster downloads and lower storage costs on your hosting platform.
- It respects your audience's time: Nobody subscribed to hear you think between sentences. Tight audio = more value per minute.
Method 1: Trim Silence Automatically (Fastest)
The fastest way to trim silence from a podcast recording is to use an online silence remover that does it in one pass — no editing, no timeline scrubbing. Here's the full process:
Step 1: Export your raw recording
From your recording app — Audacity, GarageBand, Reaper, Riverside, Zencastr, or any other — export your episode as an MP3, WAV, or OGG file. Don't trim anything manually first.
Step 2: Upload to a silence trimmer
Go to Podcast Silence Remover and upload your file. The tool accepts MP3, WAV, and OGG files. Drag and drop your episode or click the upload area to select it.
Step 3: Remove silence automatically
Click Remove Silence. The tool runs your recording through a silence detection algorithm that scans the entire file — start, middle, and end — and strips every gap below the audio threshold. Processing takes seconds regardless of episode length.
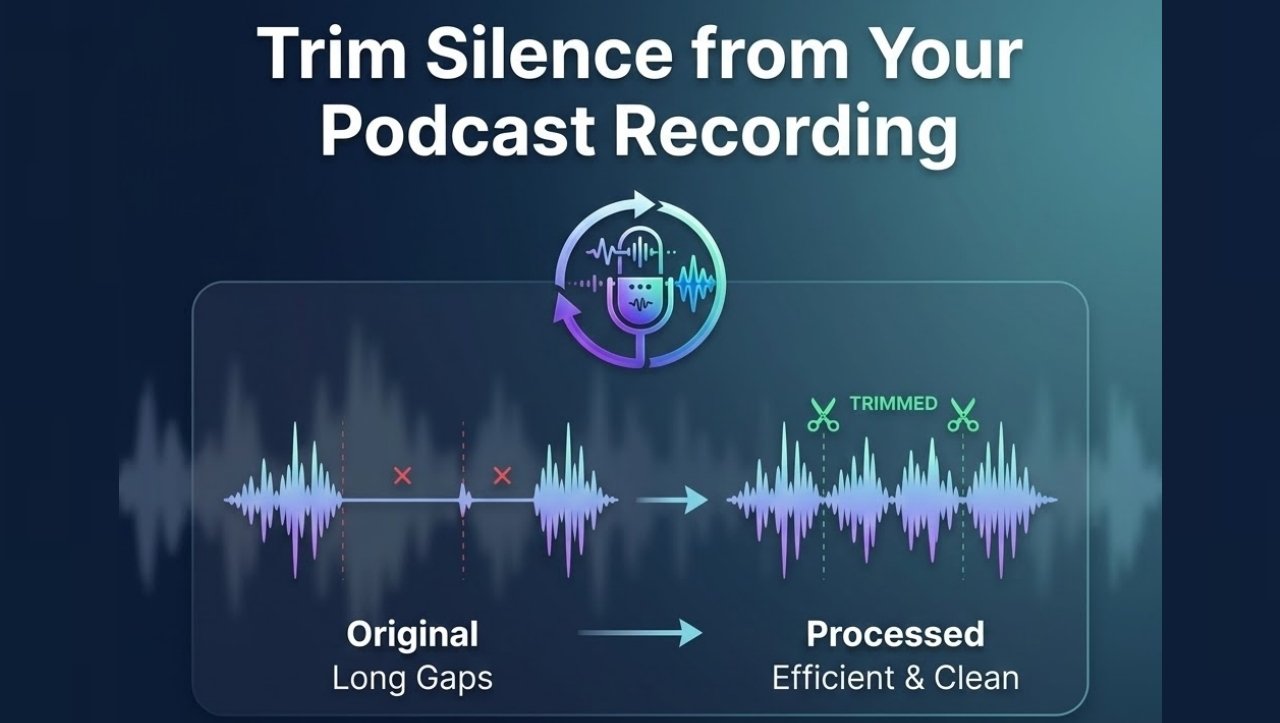
Step 4: Preview and download
Review the before-and-after waveform to confirm the result looks right. Use the built-in audio player to spot-check key moments. Then download your cleaned file and drop it straight into your publishing workflow.
Your original recording is never modified — the tool always outputs a new processed file — and everything is deleted from the server immediately after processing.
Method 2: Trim Silence Manually in Audacity
If you need precise control over which silences are removed — for example, in a scripted narrative podcast where some pauses are intentional — manual trimming in Audacity gives you full visibility.
Using Audacity's Truncate Silence Tool
- Open your recording in Audacity (File → Open)
- Go to Effect → Special → Truncate Silence
- Set your threshold (typically -40dB to -60dB for speech)
- Set minimum silence duration (0.5–1 second is a good starting point for podcasts)
- Set the truncated silence duration (how long remaining silences should be — 0.1–0.3 seconds keeps it natural)
- Click Apply and preview the result before exporting
Limitation: Audacity's Truncate Silence tool processes the whole file at once but doesn't always handle the very start and end of a recording as cleanly as a dedicated tool. You may still need to manually trim the head and tail.
Method 3: Trim Silence in Adobe Audition
Adobe Audition offers more fine-grained silence trimming for users on the Creative Cloud plan:
- Open your file in the Waveform Editor
- Go to Effects → Amplitude and Compression → Silence or use the Diagnostics panel
- Use Find/Fix: Delete Silence with custom threshold settings
- Preview, adjust, and apply
Audition gives you the most control but requires a paid subscription and a steeper learning curve than most independent podcasters need.
Which Method Should You Use?
Here's a direct comparison to help you decide:
- Solo / interview podcasts with no complex editing needs: Use the automatic online trimmer. It handles 95% of use cases in seconds.
- Scripted / narrative podcasts with intentional dramatic pauses: Use Audacity's Truncate Silence with conservative settings, then review manually.
- Professional broadcast-quality production: Adobe Audition gives you the most control, but only justifies the cost if you're already using CC for other work.
Most independent podcasters get the best return by running every raw episode through an automatic silence trimmer first, then doing a single light pass in their DAW for music beds, chapter markers, and ad insertions.
Tips for Cleaner Recordings That Need Less Trimming
The best silence is the kind you never record. These habits will reduce trimming time for every future episode:
- Use a noise gate while recording: A noise gate shuts off the mic signal when you're not speaking, preventing room noise from filling pauses. Available as a plugin in Audacity, Reaper, and most DAWs.
- Use a pop filter and position your mic correctly: Proper mic technique reduces breath puffs and mouth noise that can fool silence detectors into keeping bad audio.
- Record with a script or tight outline: Knowing your next point reduces the long thinking pauses that become dead air.
- Record separate tracks for remote guests: Tools like Riverside and Zencastr record each speaker locally. This eliminates the connection-lag silences that plague Zoom recordings.
- Do a mic check before every session: Background noise (HVAC, traffic, notifications) bleeds into pauses and makes silence detection less accurate.
Frequently Asked Questions
Will trimming silence change the pacing of my podcast?
Only the dead air is removed — pauses between words and natural conversational gaps are preserved. The result sounds like a well-edited version of yourself, not a sped-up or robotic cut.
Can I trim silence from different podcast formats (MP3, WAV, OGG)?
Yes. The online tool supports MP3, WAV, and OGG. Audacity and Adobe Audition support these plus many more formats. For podcast publishing, MP3 is the standard output format regardless of what you recorded in.
Does trimming silence affect audio quality?
No. Silence trimming removes only the empty segments — no re-encoding or compression of your actual audio occurs. The quality of everything you want to keep is bit-for-bit identical to the original.
How long does automatic silence trimming take?
Typically 5–15 seconds for a standard podcast episode using the online tool. Audacity and Adobe Audition depend on your machine's processing speed and usually take 30–90 seconds for a full episode.
Is there a file size limit for the online trimmer?
Files up to 200MB are supported, which covers most full-length podcast episodes at standard MP3 bitrates.
Trim Silence from Your Podcast Recording Now
Upload your episode and get a cleaner, tighter recording in seconds — automatic, free, no account needed.
Trim Silence Free →